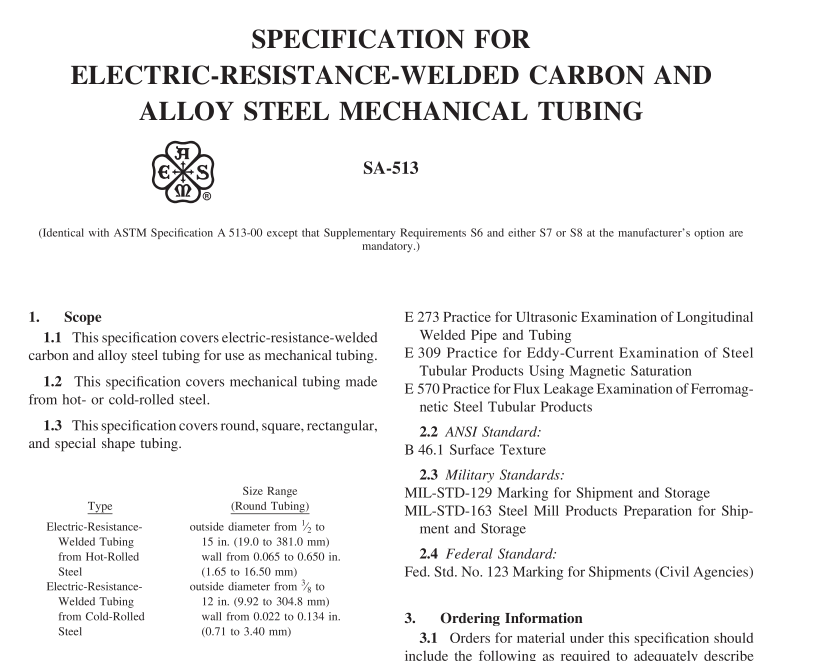
ASME SA-513:2021 pdf free download SPECIFICATION FOR ELECTRIC-RESISTANCE-WELDED CARBON AND ALLOY STEEL MECHANICAL TUBING
5.2When a carbon steel grade is ordered under thisspecification,supplying an alloy grade that specificallyrequires the addition of any element other than thosc listedfor the ordered grade in Tables 1 and 2 is not permitted.
6.Heat Analysis
6.1An analysis of each heat of steel shall be made bythe steel manufacturer to determine the percentages ofthe elements specified; if secondary melting processes areemployed,the heat analysis shall be obtained from oneremelted ingot or the product of one remelted ingot ofeach primary melt.The heat analysis shall conform to therequirements specificd, except that whcre the heat identityhas not been maintained or where the analysis is not suffi-ciently complete to permit conformance to be determined,the chemical composition determined from a product analy-sis made by the tubular manufacturer shall conform to therequirements specified for heat analysis. When requestedin the order or contract,a report of such analysis shall befurnished to the purchaser.
7. Product Analysis
7.1When requested on the purchase order, a productanalysis shall be made by the supplier.The number andsource of samples for such product analysis shall be basedon the individual heat or lot identity of one of the followingforms of material:
7.1.1 Heat ldensiry Maintained-One product analy-sis per heat shall be made on either the flat-rolled stockor tube.
7.1.2 Heat Identiry Not Maintained —A product fromone tube per 2000 ft (610 m) or less for sizes over 3 in.(76.2 mm),and one tube per 500O ft (150 m) or less forsizcs 3 in. and undcr.
7.2Samples for product analysis except for spectro-chemical analysis shall bc taken in accordance with Prac-tice E 1806. The composition thus determined shallcorrespond to the requirements of Tables 1-3.
7.3If the original test for product analysis fails, retestsof two adlditional lengths of flat-rolled stock or tubes shallbe made. Both retests for the elements in question shallmeet the requirements of the specification; otherwise, allrcmaining matcrial in the heat or lot shall be rejected or,at the option of the producer,euch length of flat-rolledstock or tube may be individually tested for acceptance.Lengths of flat-rolled stock or tubes which do not moetthe requirements of the specification shall be rejected.
8.Permissible Variations in Dimensions for Round Tubing
8.1 Diameter and Wall Thickness (Hor-Rolled Steel)—variations from specified outside diameter for “”as-welded” and “as-welded and annealed” tubing made from hot-rolled steel shall not exceed the amounts prescribed in Table 4. Permissible variations in outside diameter for tubing that has been sink-drawn for closer tolerance on outside diame- ter are shown in Table 5. Permissible variations in wall thickness for tubing that has been sink-drawn for closer tolerances on outside diameters are ±10% of the nominal wall or±0.010 in. (0.25 mm), whichever is greater. Permis- sible variations in wall thickness for tubing made from hot-rolled steel are shown in Table 6. Permissible variation in outside and inside diameter for tubing made from hot- rolled steel that has been mandrel drawn for closer toler- ances are shown in Table 5 with wall tolerances shown in Table 7.
8.2 DiameterandWallThickness(Cold-RolledSteel) — Variations in outside diameter and inside diameter of “as- welded” and “as-welded and annealed” tubing made from cold-rolled steel are shown in Table 8. Outside diameter tolerances forcold-rolledsteel tubing, sinkdrawnandman- drel drawn, are shown in Table 5. Wall thickness tolerances for “as-welded” tubing made from cold-rolled steel are shown in Table 9. Permissible variations in wall thickness for round tubing, mandrel drawn for closer tolerances, are shown in Table 7. Permissible variations in wall thickness for tubing that has been sink-drawn for closertolerances on outsidediameterare±10% ofthenominalwallor±0.010in. (0.25 mm), whichever is greater.
8.3 Length (Hot- and Cold-Rolled Steel) —Mechanical tubing is commonly furnished in mill lengths 5 ft (1.5 m) and over. Definite cut lengths are furnished when specified by the purchaser. Tolerances for definite cut lengths round tubing shall be as given in Tables 10 and 11.
8.4 Squareness ofCut (Hot- and Cold-Rolled Steel) — When specified, tolerance for squareness of cut of round tubing shall be as given in Table 12. Measurements are made with use of an “L” square and feeler gage. Side leg of square to be equal to tube diameter except minimum length of 1 in. (25.4 mm) and maximum length of 4 in. (101.6 mm). Outside diameter burr to be removed for measurement.
8.5 Straightness —The straightness tolerance for round tubing is 0.030 in./3 ft (0.76 mm/1 m) lengths to 8.000 in. (203 mm) outside diameter. For 8.000 in. outside diameter andabove, straightness tolerance is 0.060 in./3 ft(1.52 mm/ 1 m) lengths. For lengths under 1 ft the straightness toler- ance shall be agreed upon between the purchaser and pro- ducer. The test method for straightness measurement is at the manufacturer’s option, unless a specific test method is specified in the purchase order. 8.6 Ovality (Hot- and Cold-Rolled Steel) —The ovality shall be within the tolerances except when the wall thick- ness is less than 3% of the outside diameter.
ASME SA-513:2021 pdf free download
