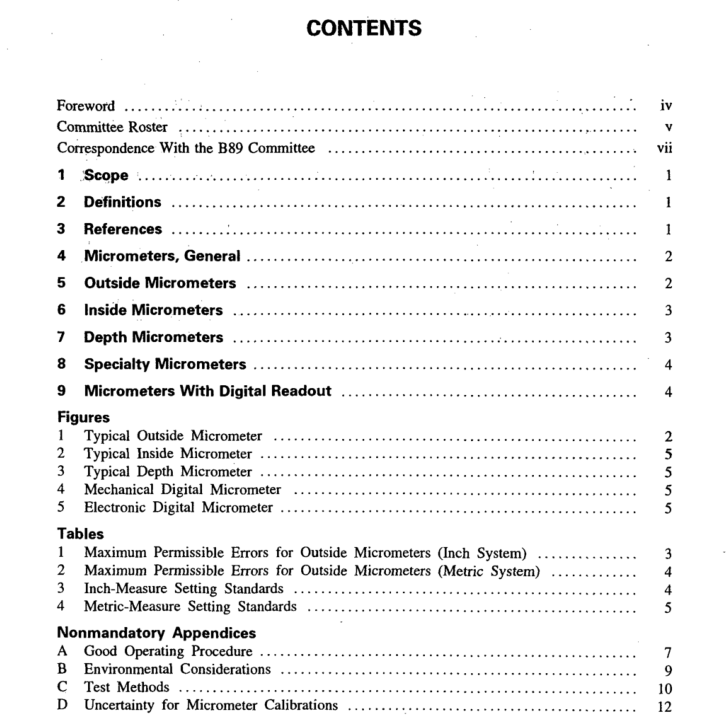
ASME B89.1.13:2001 pdf free download MICROMETERS
1scOPE
This Standard is intended to provide. the. essentialrequirements for micrometers as a basis for mutualunderstanding between manufacturers and consumers.Outside,inside,and depth micrometers are describedin the Standard.
2 DEFINITIONS
backlash:a relative movement between ‘interactingmechanical parts,resulting from looseness [ASMEB5.54M-1992 (R1998)]. In this Standard, backlash isfurther defined as the rotation of the spindle,in. theopposite direction of the initial reading,before spindlemoves in a linear direction. This condition is typicallycaused by looseness of fit between the lead screw andadjusting nut.
bias:systematic error of the indication of a measuringinstrument (VIM).
eccentricity: the distance between the geometric centeror axis of the body and its axis of rotation.
end shake: the amount of spindle movement,whenan axial force is applied in the direction of the spindlealternating towards the anvil and away from the anvil,without rotating the spindle.
error (of indication) of a measuring instrument:indi-cation of a measuring instrument minus a true valueof the corresponding quantity (VIM).
NOTE:This concept applies mainly where the instrument is comparedto a reference standard.
flatness:the condition of a surface having.all elementsin one plane (ASME Y14.5M-1994).
maximum permissible ‘error (MPE): .extreme valuesof an error permitted by specifications,etc.,for a givenmeasuring instrument (vIiM).
parallelism: the condition of a surface or center plane,equidistant at all points from a -datum plane or axis,equidistant along its length from one or more , datumplanes or a datum axis (ASME Y14.5M-1994).
runout:a composite tolerance used to control thefunctional relationship of one or more features of apart to a datum axis.The types of features controlledby runout tolerances include those surfaces constructedaround a datum axis and those constructed at rightangles to a datum axis (ASME Y14.5M-1994).
side shake:the amount of spindle side movement,when a force is applied perpendicularly to the measuringend of the spindle, alternating from side to side, withoutrotating the spindle.
tolerance:the total amount the specified dimensionis permitted to vary. The tolerance is the differencebetween the maximum and minimum limits (ASMEY14.5M-1994).
3. REFERENCES
This Standard has been coordinated insofar as possiblewith the following standards.
ASME B5.54M-1992 (R1998),Methods for Perform-ance Evaluation of Computer Numerically ControlledMachine Centers
ASME Y14.5M-1994,Dimensioning and TolerancingPublisher: The American Society of Mechanical Engi-neers (ASME International,Three Park Avenue,New York,NY 10016
IEEE/ASTM Sl 10-1997,Standard for Use of theInternational System of Units (SI):The ModernMetric System Revision and Redesignation of ANSIIEEE Std 268-1992 and ASTM E 380
Publisher: Institute of Electrical and Electronics Engi-neers (IEEE),445 Hoes Lane,Piscataway, NJ08854ISO 3611,Micrometers Calipers for External Measure-ments,1978
Publisher: International Organization for Standardization(ISO), 1 rue de Varembe,Case Postale 56,CH-1121,Geneve 20,Switzerland/Suisse
4 MICROMETERS,GENERAL4.1 Materials
The materials used for the component parts of micrometer shall meet the minimum requirements forhardness,stability,and strength.
Recolrtion,4-2Hesoluton: ..E? .. 1.“”-y” :
Micrometers using.the .inch system shall read to .theleast count of 0.001 in.,0.0001 in. .or 0.00005 in.Micrometers using the.metric system shall.read to 0.01mm,0.002 mm,or 0.001 mm.
4.3 Finish
The surface of graduated parts shall have a satinchrome or dull, nonglare finish. All other,exposed partsnot utilized as measuring components shall be coatedto prevent corrosion. Exposed .surfaces of measuringcomponents shall have a :ground finish with surfaceroughness not to exceed 32 utin.-(O.8-um)Ra,exceptwhere otherwise specified within this document
4.4 ldentification Marking
Inaddition to other markings,instruments shall bemarked in a permanent and legible mannierwith themanufacturer’s name or trademark so thatthe , partnumber,range of the instrument, and the source of themanufacturer can be readily determined.
4.5 Adjustments
Each instrument shall be adjustable to compensatefor wearon the measuring faces and/or wear betweenthe serew portion of the spindle and the nut.
4.6 Micrometers Screw Spindle
The screw spindle material shall be stabilized,preci-sion-ground,and have a: hardness not less than 62 onthe Rockwell c Scale. The fit between the spindle andits bearings,including the nut,shall be free-turningwithout perceptible backlash, end shake,or side shake.4.7 Measuring Faces
All measuring faces shall be hardened to not lessthan .62 on the Rockwell C Scale.
4.8 Graduations
The graduations shall have the depth reduced belowthe surface of the component carrying the graduations
ASME B89.1.13:2001 pdf free download
