ASME B16.18:2012 pdf free download Cast Copper Alloy Solder Joint Pressure Fittings
SIZE The size of the fittings shown in Table 3 and Table A1 corresponds to standard water tube size as shown in ASTM B 88, Specification for Seamless Copper Water Tube. The size of the threaded ends corresponds to nominal pipe size as shown in ASME B1.20.1. Fittings are designated by the size of the openings in the sequence illustrated in Fig. 1.
5 MARKING Each fitting shall be permanently marked with the manufacturer’s name or trademark and other applicable markings as required by MSS-SP-25. Marking of fittings less than Standard Water Tube Size 1 ⁄ 2 , or on any fitting where it damages soldering surfaces is not required.
6 MATERIAL Castings shall be copper alloy produced to meet:
(a) the requirement of ASTM B 62 Alloy C83600;
(b) the chemical and tensile requirements of ASTM B 584 Alloy C83800 or C84400 and in all other respects comply with the requirements of ASTM B 62.
7 METAL THICKNESS Dimensional variations occur in the casting process. Pattern equipment shall be designed to produce the metal thickness given for fittings in Table 3 or Table B3. The minimum wall-thickness shall not be less than 90% of the body and joint wall-thickness as shown in Table 3 or Table B3. 2
8 INSPECTION TOLERANCE
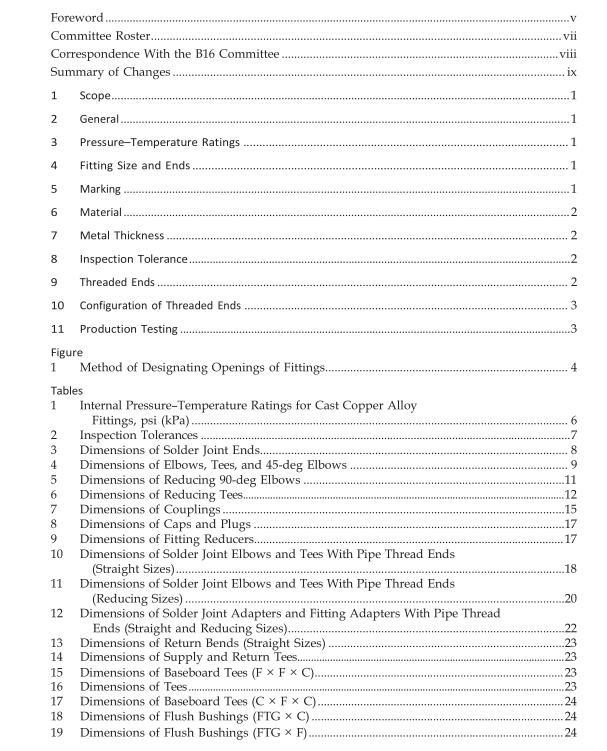
8.1 Linear Dimensions An inspection tolerance as shown in Table 2 shall be allowed on center-to-shoulder, center-to-center, cen- ter-to-threaded end, and shoulder-to-threaded end di- mensions on all fittings having female solder (solder cup) ends, and on center-to-solder end and solder-to- threaded end dimensions on all fittings having male solder (fitting) ends. Coupling inspection limits for shoulder-to-shoulder and shoulder-to-end dimensions shall be double those shown in Table 2, except that the minus tolerance applied to dimensions M, N, and W, and Tables 7 and B7 shall not result in a dimension less than 0.06 in. (1.5 mm) for sizes 1 ⁄ 4 through 1 in., inclusive, or a dimension less than 0.09 in. (2.3 mm) for the larger sizes. The largest opening in the fitting governs the tolerance to be applied to all openings. Tables 3 through 19 offer dimensions for pressure fittings covered by this standard.
8.2 Ovality Maximum ovality shall not exceed 1% of the maxi- mum diameters shown in Table 3 or Table B3. The average of the maximum and minimum diameters must be within the dimensions shown in the table.
8.3 Gaging of Solder Joint Ends
8.3.1 Standard Gaging Method. The standard method of gaging the diameter tolerances for male and female ends shall be by the use of plain plug and ring gages designed to hold the product within the limits established in Table 3 or B3.
8.3.2 Optional Gaging Method. For gaging the diameter tolerance of male and female ends, the manu- facturer may use direct reading instruments instead of ring and plug gages as specified in para. 8.3.1. When gaging the diameters of male and female ends using direct reading instruments, refer to para. 8.2.
8.4 Standard Gaging Method of Threaded Ends The standard method of gaging the external and internal threaded ends shall be in accordance with the requirements of ASME B1.20.1.
8.5 Alignment The maximum-allowable deviation in the angular alignment of any opening shall be 0.06 in./ft (5mm/1 m) (0.5%).
9 THREADED ENDS
9.1 Thread Type Fitting threads shall be right hand, conforming to ASME B1.20.1, Pipe Threads, General Purpose (Inch). They shall be taper threads (NPT).
9.2 Countersink or Chamfer All internal threads shall be countersunk a distance not less than one-half the pitch of the thread at an angle approximately 45 deg with the axis of the thread, and all external threads shall be chamfered at an angle of 30 to 45 deg from the axis, for the purpose of 4 easier entrance in making a joint and protection of the thread. Countersinking and chamfering shall be concentric with the threads.
9.3 Threading Tolerances Tapered pipe threads (NPT) shall be checked by use of working plug or ring gages in either standard or limit types. Gages shall be threaded on/in hand tight. The reference point for gaging internal product threads depends upon the chamfer diameter. When the internal chamfer diameter exceeds the major diameter of the internal thread, the reference point is the last thread scratch on the chamfer cone. Otherwise, when the internal chamfer diameter does not exceed the major diameter of the internal thread, the reference point is the end of the fitting.
ASME B16.18:2012 pdf free download
